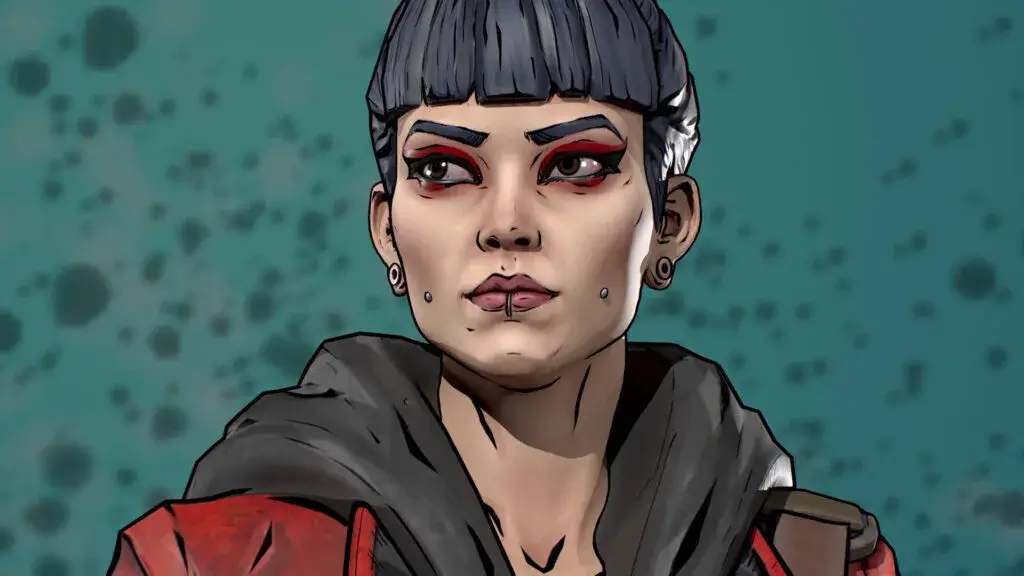
The characters and models you see below were created for an interesting and unique title called Steampunk Clash. We have some more of our work on display here but we’re going to focus on the character and how she was created!
If you’re interested in the pipeline, inspiration, and references that go into creating high-quality 3D concept art, you won’t want to miss this!
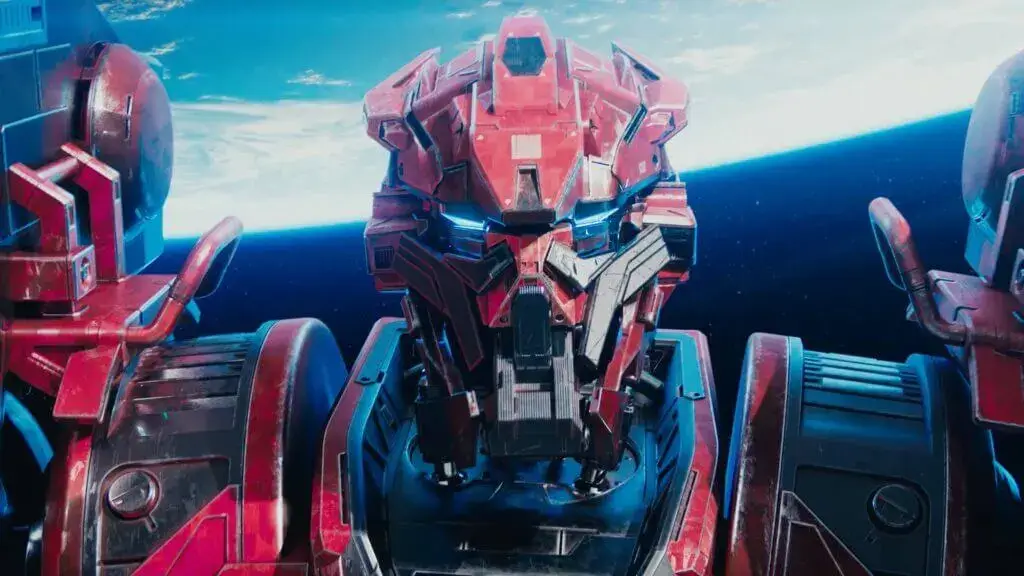
Like most art pieces, they start with the silhouettes and exploration stages. We touched on this stage of character art and character creation when talking about good character design. Our artists started with just a few silhouettes of her character and some of the mech that would accompany her. These were designed in tandem as they would always be together.
However, unlike most other projects, our artists dove straight into the 3D modeling stage. There they began work on the main angles, proportions, and materials that would make up her clothing, equipment, and the mech itself.
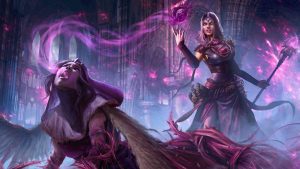
When developing this character’s design, our artists didn’t shy away from the common cosplays and outfits created by many of the talented designers and cosplayers. These take inspiration from many classic characters and elements of steampunk worlds and served as perfect inspiration.
However, to change things up, our artists also looked at 19th Century mining workers. Particularly, they looked into the late 19th Century, as this is where the majority of the original Steampunk inspiration came from. This helped to bring the art to a more classic source rather than a lot of the modern adoptions of the genre.
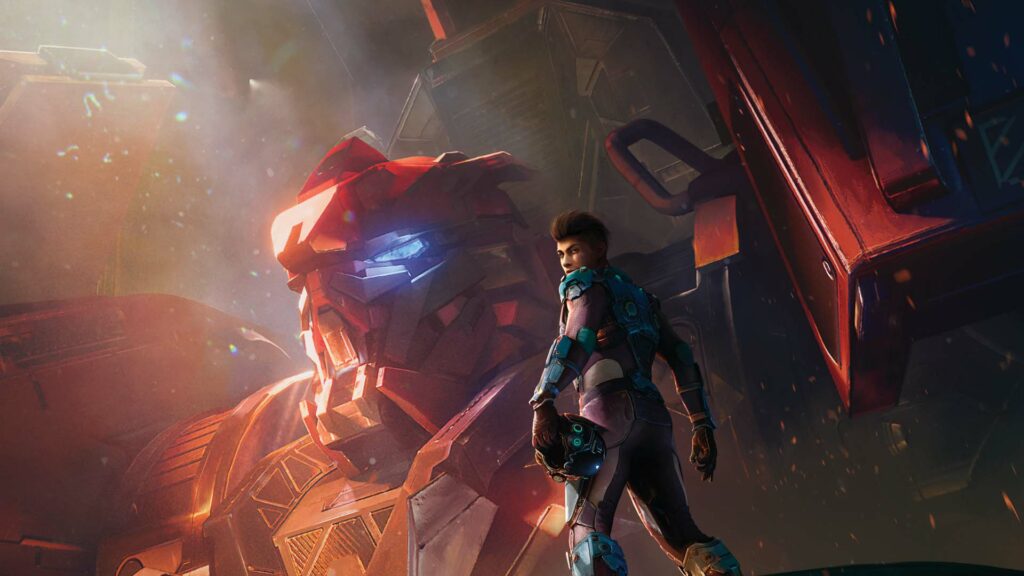
Due to the art style of the project, our artists also had to figure out a way to make them more fitting. Aside from the obvious references above, one artist focused on kids’ toys. This ended up being one of the major inspirations for the character and her mech. No sharp edges, everything quite smooth, and a little thicker than normal models. All give it a more playful feel and tone to fit the project.
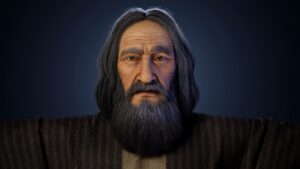
Our initial artist actually crafted much of this character in VR! He used several 2D sketches to get a feel for the shape and style, then transitioned to using VR. Like a mix between art drawing and model sculpting, he was able to quickly and easily create the base model.
 This model was then taken into post-production. The tools of the pipeline are typically Photoshop for the sketching, Blender for 3D modeling, and back to Photoshop for the final touches. Now that the model was ‘finished’, it was time for the additions and refinement.
The final 3D render is quite highly detailed, so one of the jobs in post-production is to reduce that detail that can’t be seen in-game. Only key elements are kept, the rest are reduced to ensure loading times and polycounts are preserved.
There’s also the ‘paintover’ stage, where any mesh issues are fixed and any unwanted details are cleaned away. This is also where the model gets a lot of life. Lighting is refocused on key areas, colours are improved, and texturing added to any important areas.
Our artists always emphasize the importance of organization. The production timeline is a constant reference during work to ensure that the ongoing effort is efficient and contributing towards a better final result.
And that the previous stages aren’t set in stone. They mentioned that, respecting deadlines, it’s better to go back and fix a problem at its core. Instead of letting that problem continue and trying to patch over it in future stages.
Looking for high-quality artists and industry veterans to take your game’s art to the next level? Get in touch with us today! 2D & 3D art, animation, and more, Magic Media will deliver only the highest quality results for your project.